
introducing webinar+

webinars that defy gravity

Webinars have become an increasingly popular medium for connecting with audiences, sharing knowledge, and promoting products or services. To make your webinars truly captivating, incorporating multiple camera angles can greatly enhance the viewer’s experience. In this step-by-step engaging webinar guide, we will walk you through the process of creating dynamic and visually appealing webinars that will leave a lasting impression on your audience.
Before diving into the technical aspects, start by outlining the content of your webinar. Determine the key points you want to cover and create a rough structure for your presentation. This will help you identify the moments where multiple camera angles can have the most impact.
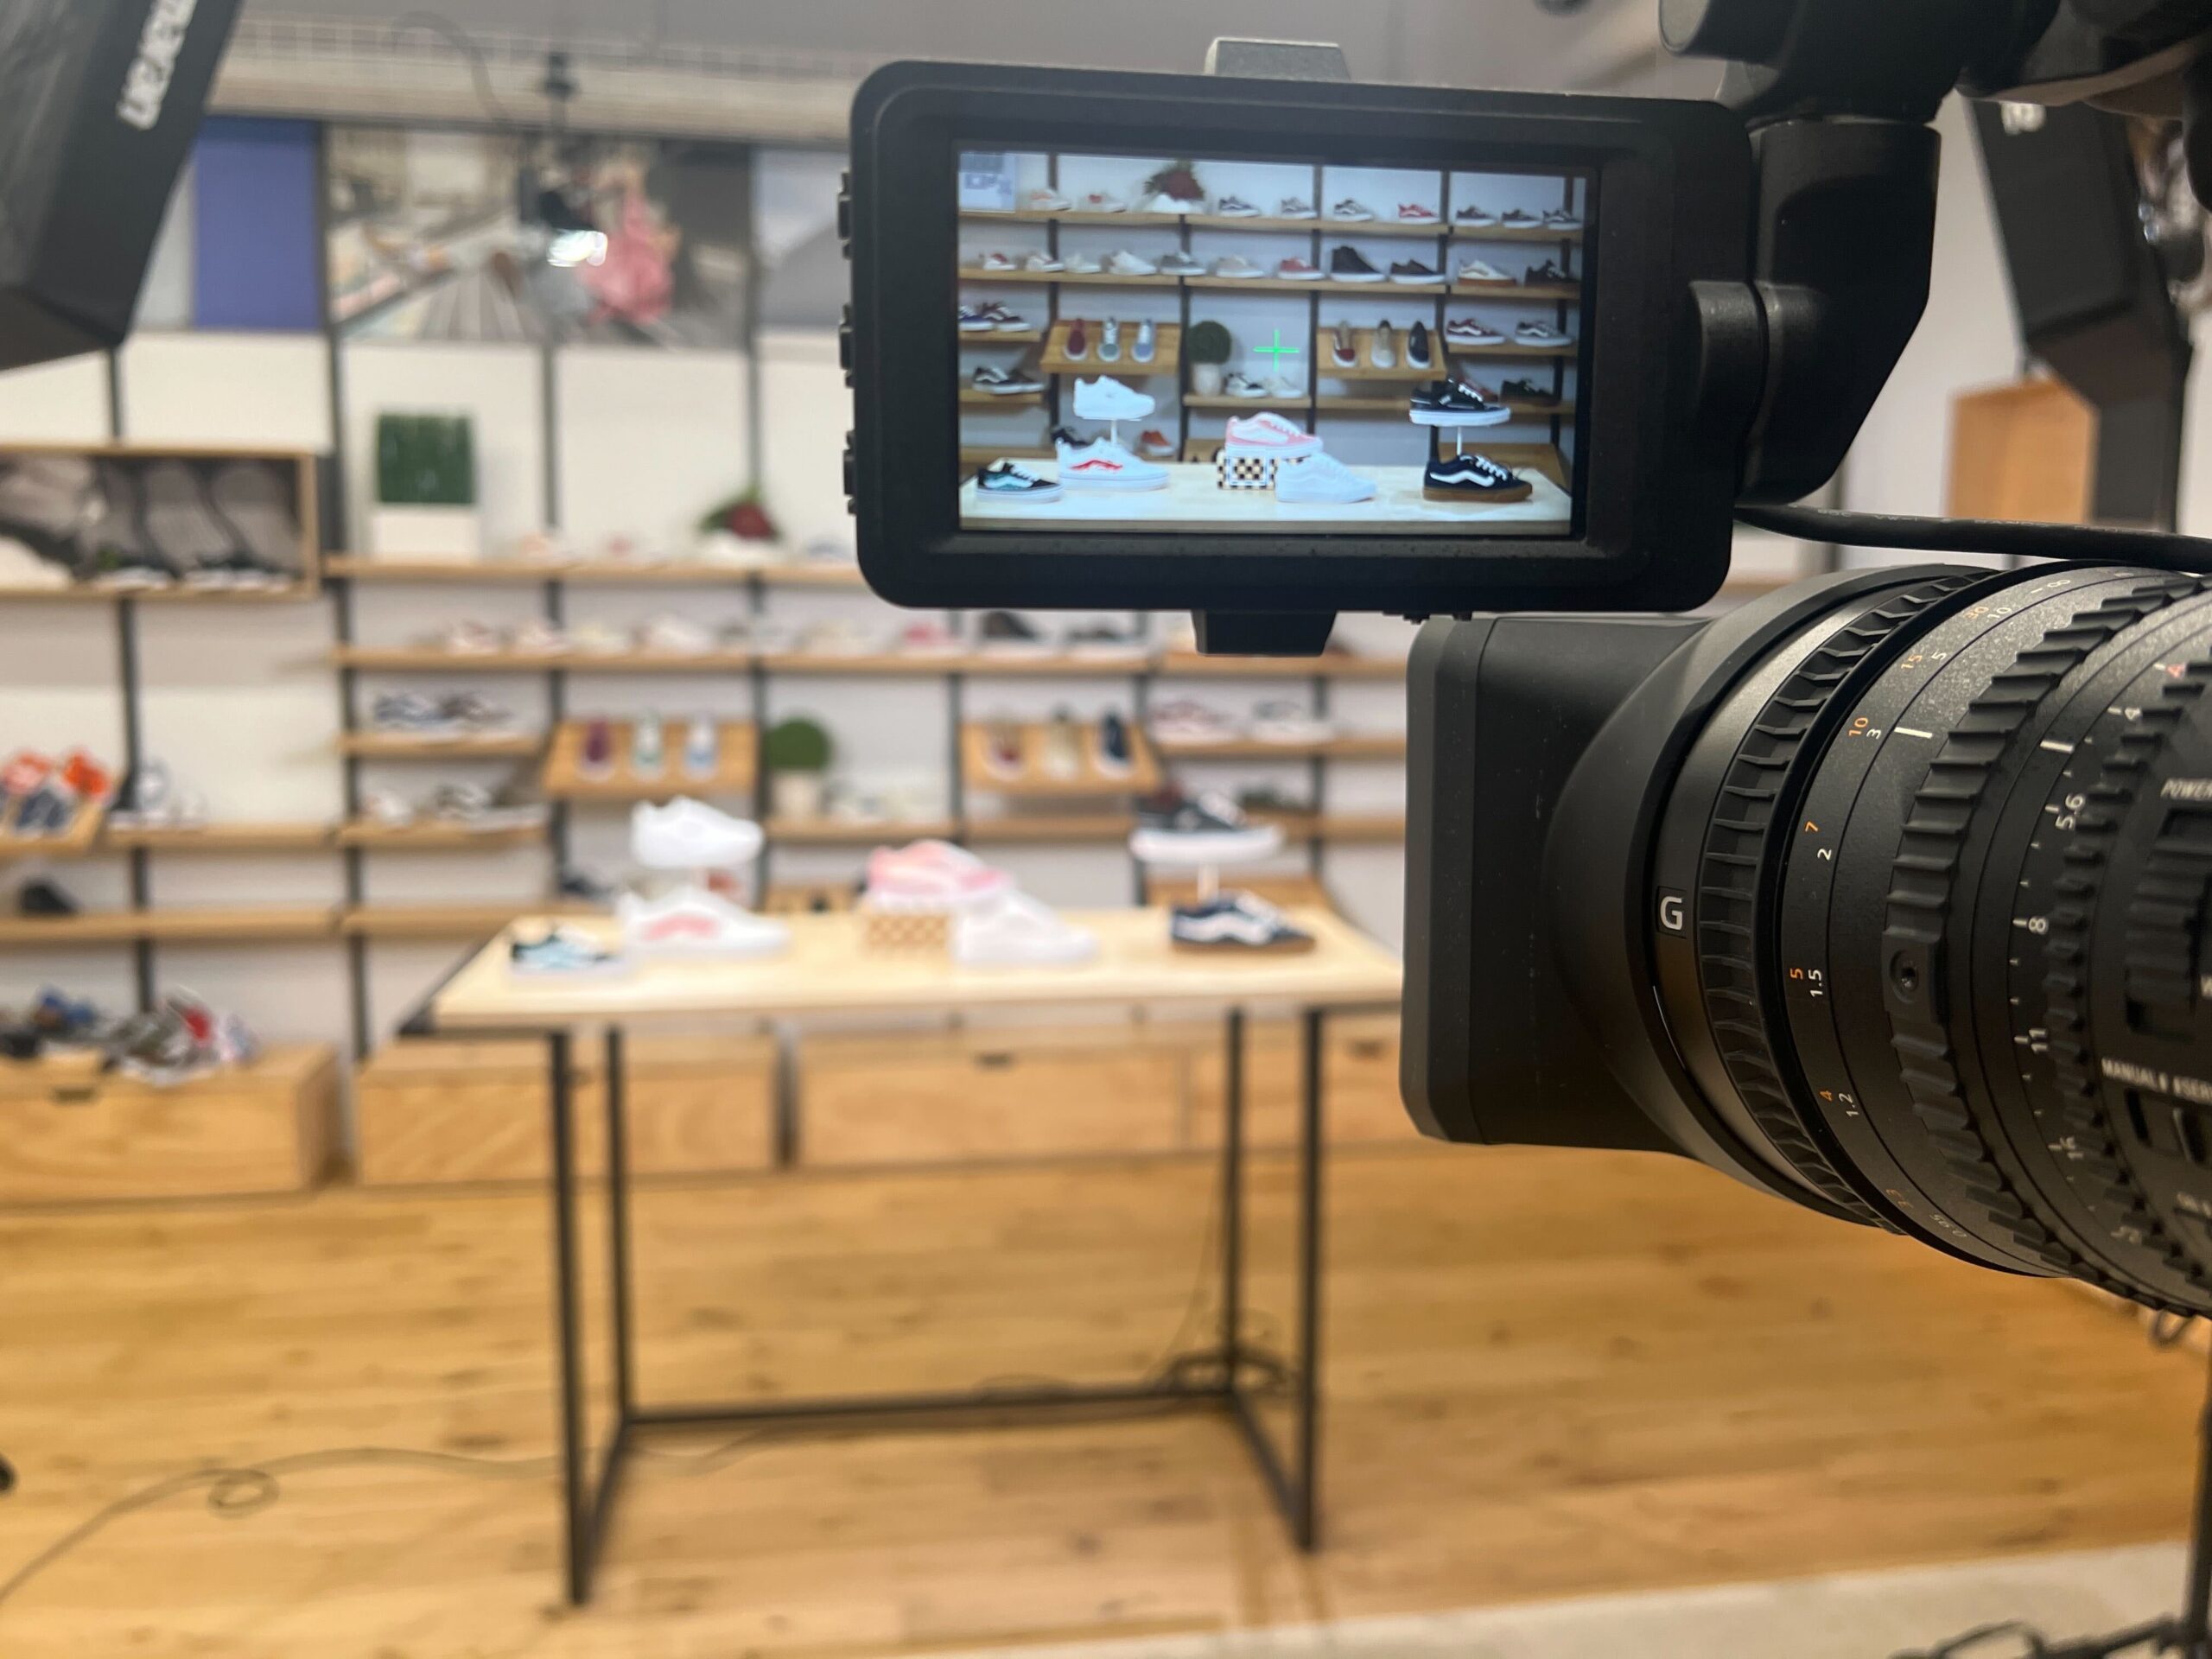
To capture different angles during your webinar, you’ll need multiple cameras strategically positioned around your set. Consider using a combination of stationary cameras and handheld devices for more flexibility. Position them to cover different perspectives, such as a wide shot, close-up, or an overhead view. Test each camera to ensure they are properly positioned and functioning correctly.
To seamlessly transition between camera angles during your webinar, you’ll need a video switcher. This device allows you to switch between camera feeds with ease, providing a professional and polished look to your webinar. Connect all your cameras to the switcher and familiarize yourself with its features before going live.
A smooth transition between camera angles is essential for maintaining engagement. Plan your transitions carefully to avoid jarring shifts. For example, when switching between speakers, introduce the new speaker on one camera while the previous speaker is still visible in a smaller frame. This way, the audience can visually connect with both speakers before the transition occurs.
In addition to switching camera angles, consider incorporating camera movements to add depth and visual interest. Assign a camera operator to each camera, responsible for panning, zooming, and tracking the action. Coordinate these movements with your content to highlight important moments or create a sense of movement and energy.
Testing and rehearsing your webinar setup is crucial to ensuring a flawless live presentation. Run through your webinar multiple times, paying close attention to camera transitions, audio levels, and overall timing. This practice will help you identify any potential issues and make necessary adjustments before going live.
Engagement is key to a successful webinar. Encourage interaction by incorporating live polls, Q&A sessions, or chat features. During these moments, leverage your multiple camera angles to highlight audience questions or reactions, making participants feel directly involved in the conversation.
After your webinar, take the time to evaluate its success. Review viewer feedback, monitor engagement metrics, and assess the effectiveness of your multiple camera angles. Identify areas for improvement and implement them in your future webinars to continuously enhance the viewer experience.
In conclusion, creating engaging webinars with multiple camera angles is a powerful way to capture and retain your audience’s attention. By following this step-by-step engaging webinar guide, you can elevate the quality of your webinars and deliver an immersive experience that keeps participants coming back for more. So, start incorporating multiple camera angles into your webinars today and unlock the full potential of this dynamic medium.

